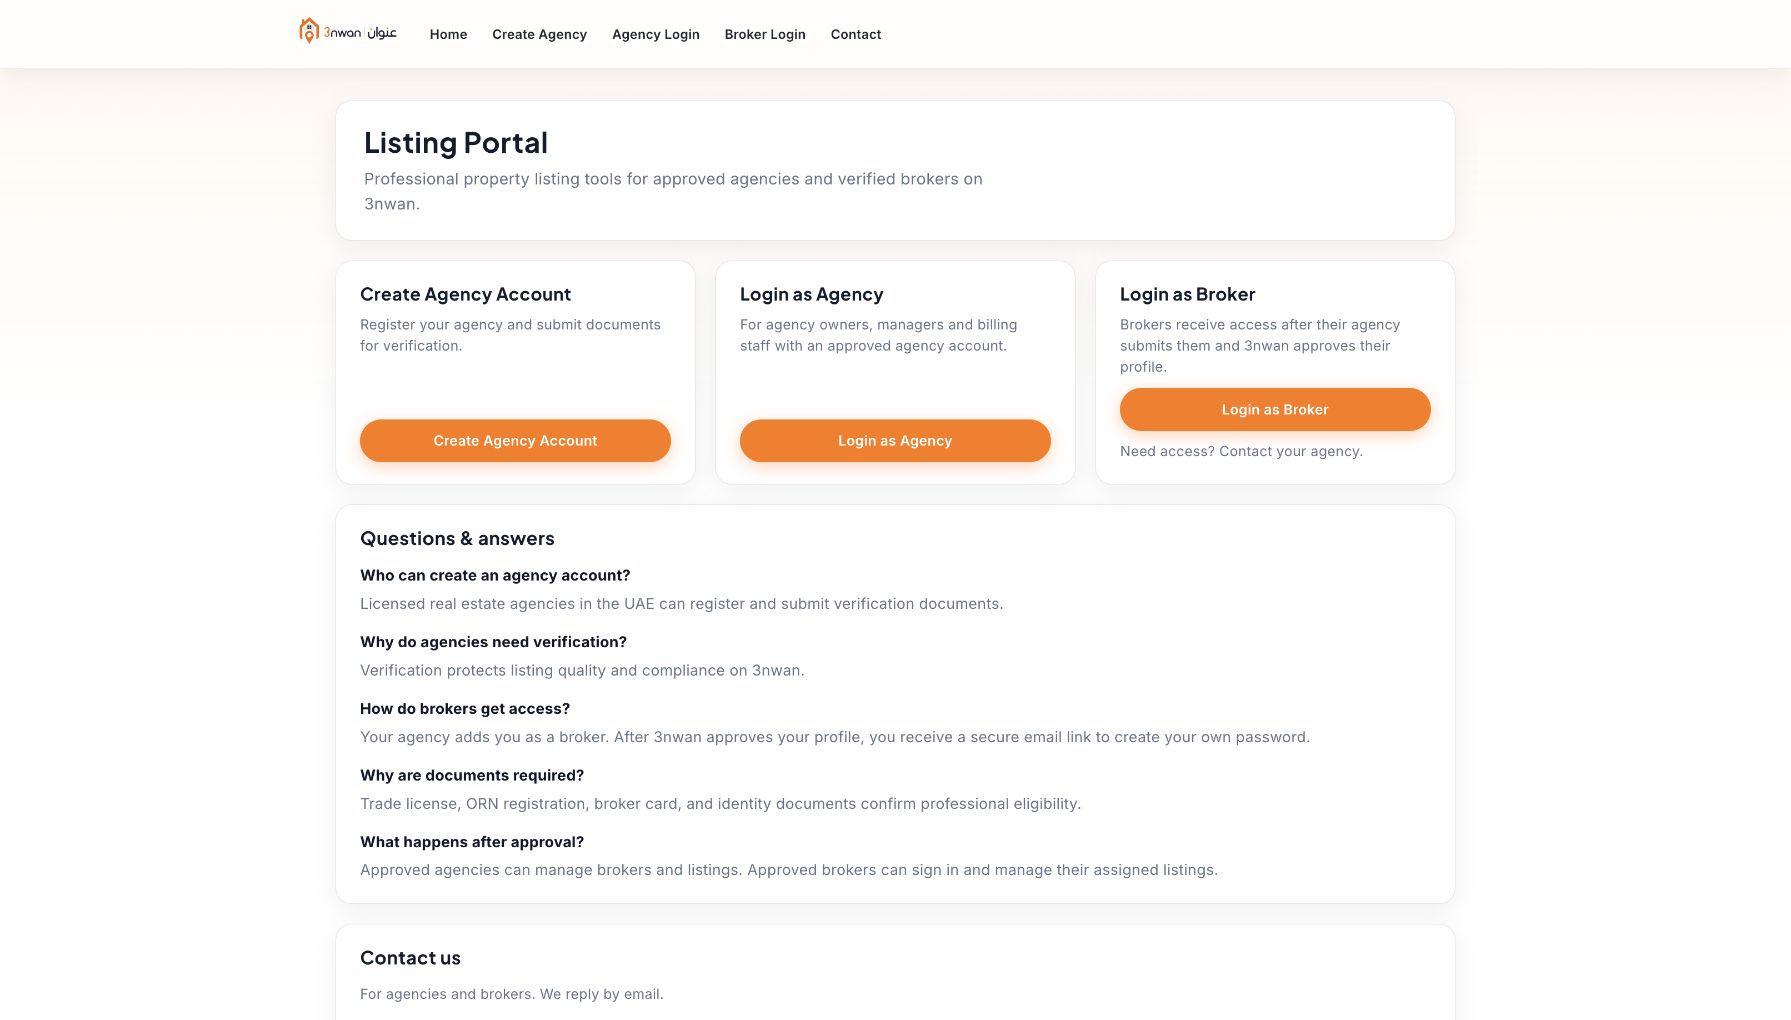
From your first sign-in to managing a listing. Choose your role, then find the task you need.
Buttons depend on your role, approval status and enabled services. This guide does not change your permissions. Screenshots show sample screens.
13 articles
No matching articles. Try a shorter phrase, choose another role, or contact support from your dashboard.
Activate your broker account
Your agency submits your broker profile. A standalone buyer account is not a broker account.
Ask your agency to add your profile under Brokers with your correct contact details, BRN, photo and required documents.
Use the account-setup email addressed to you and follow the password or invitation steps. Sign in through the professional Listing Portal.
Read the verification status and any correction request. Complete the professional terms when prompted. Listing tools unlock only when the required approvals and access are in place.
Use your own account, not the agency owner’s login. If a setup link has expired, ask the agency to resend it and use the newest email.
Example screen · select to enlarge. Buttons may differ by role and account status.Open this areaBack to top
Create a listing assigned to you
Use Add Listing for your own approved broker profile under your agency.
Check your available slots, then open Add Listing. Enter the purpose, property type, price and structured location.
Upload the final Title Deed and verify the extracted details. Complete any fields the reader did not fill; Oqood is not accepted instead of a final deed.
Complete the requested private documents, photo gallery and listing declarations. Check the permit details when available and read the save result.
You cannot assign a listing to another broker yourself. Ask your agency about reassignment. Listing limits are shown on the dashboard and cannot be increased from your profile.
If the deed is already listed, stop and check the existing listing with your agency. Never alter a legal identifier to bypass a duplicate warning.
New listing photos require at least 1440 × 900 pixels; use 5–30 photos per listing.
Check both dimensions: at least 1440 pixels wide and 900 pixels high. Use JPG, PNG, WebP or HEIC/HEIF, at most 25 MB for each file.
Wait for all thumbnails to appear, then choose the cover and order the gallery. Keep deeds, identity and authorisation documents out of the public gallery.
Save the listing and check the resulting gallery. If an upload is rejected, correct the named requirement and retry only that file.
Old, smaller photos remain valid for editing an existing listing. Only a newly uploaded gallery photo must meet the new minimum.
Display copies are compressed WebP images in different sizes. Keep your originals yourself; do not rely on the platform to store original photographs.
A missing advertisement permit can leave the listing in Draft; it is not visible to buyers.
Complete the mandatory deed, location, photos and declarations. Save without the permit when you need a private draft, and verify the draft confirmation.
Open the saved draft from Listings. Add the advertisement permit and its number, complete the missing requirements, then submit it for review.
Read the resulting status. If the team asks for corrections, fix the existing listing and submit again using the action shown.
Your authorised agency managers can see the draft. A saved draft, a submitted listing and a published listing are three different states.
Always use the Save action and read its result before leaving. Uploaded files or text in an open form are not proof of a saved record.
Edit the existing listing; review may separate your proposed change from the approved public version.
Find the listing under Listings, confirm its reference and choose Edit. Change the intended fields and keep the existing photos unless you mean to replace them.
Save and read the message. When critical-edit review applies, the approved public values remain while your proposal awaits review, provided other publication requirements still hold.
Check the review outcome before expecting the buyer page to show your new price or details. Follow any correction instructions on the same listing.
A review proposal is not a second listing. If a save fails or its result is unclear, reopen the listing and check before retrying.
Confirm availability or mark a property unavailable
Reconfirm every 30 days as the responsible broker, keeping availability, price and authorisation truthful.
Open the listing and read the next confirmation deadline. Use Confirm availability only after checking the property is genuinely still available.
Read and accept the confirmation declaration, then confirm. Check the new confirmed date and listing status.
If sold, rented or pulled back by the property owner, choose Mark not available, select the correct reason and add the requested details. A transaction date is optional for sold or rented outcomes.
Missing the confirmation deadline can pause the listing. If confirmation succeeds but it stays offline, read the remaining block rather than repeatedly confirming.
Unavailable listings and suspended listings are subject to retention and photo removal. Keep original photos outside the platform and ask your agency about a mistaken status promptly.
Use Verification / Documents to follow the exact file and reason under review.
Open Verification / Documents and read the request, document type and expiry date.
Upload the correct replacement and enter the matching information. Document fields accept PDF or the supported image formats, up to 25 MB per file.
Submit the correction or renewal and follow its status until approved. If a field is not editable, ask your agency or Support instead of creating another account.
An uploaded replacement is not automatically approved. A listing’s advertisement permit is separate from your broker card or agency licence. When a listing’s advertisement permit expires and no renewal is waiting for review, the listing goes offline automatically until a renewed permit is approved, and a listing left suspended for 30 days can be deleted.
Your enquiry view is for the listings you are authorised to handle.
Open Enquiries. Filter by listing, date, channel or status and read the buyer’s message.
Use the available contact actions to respond. Update the enquiry status to reflect what actually happened.
Keep follow-up organised with the status filters. Ask your agency if an enquiry belongs to another assigned broker.
A visitor’s Call, Email or WhatsApp click is an engagement event, not a confirmed conversation. Some click records do not include visitor contact details.
During the free launch period nothing is charged and paid promotions are not offered; this article describes how paid promotions work once payments open. Request an available promotion for an eligible listing; your agency controls its approval and wallet.
Open Promotion Requests and choose the eligible listing and offered promotion. Read its duration and any date choices.
Submit the request to your agency and follow its status. Further platform review may apply before it starts.
For a Price Reduced badge, make a real price reduction first and follow the displayed eligibility and review steps.
You cannot approve your own promotion or spend from the agency wallet outside the available workflow. A promotion does not bypass listing checks or guarantee a sale.
Keep your personal contact details current without creating a second broker profile.
Open the profile menu and your broker profile. Update the fields that are editable and follow any verification instructions for locked details.
If changing the login email, open the confirmation sent to the new address. Until confirmation, continue to use your current sign-in email.
If you forget your password, use the password-reset link from the sign-in page and then the newest reset email. Sign out when using a shared computer.
Only your agency or the platform can resolve role, agency-assignment or approval restrictions. Changing your contact details does not grant additional access.
Read the specific reason before repeating a save or creating another listing.
For a locked tab, check your broker and agency status. For an offline listing, check its permit, review, availability and assignment notices.
For an expired session or form, reopen the page and check the saved record before retrying. Use a fresh email link if an old one has expired.
Open Support, choose the topic and include the listing reference, exact error and what you were doing. Read the send confirmation and watch your account email for a reply.
Never send passwords, reset links or card details to Support. Use private document fields for compliance files, not the public gallery.